
Tuesday, 4 March 2014
Art Journal: Rosebuds—Applying Green (Day 1)
Applied green using the same techniques described yesterday. Here's the result.

Monday, 3 March 2014
Art Development: Rosebuds and Adding Colour with Gimp
So, the grey-lead pictures on different
backdrops were kind-of okay, but what if I wanted to have colours? I’d read
somewhere that some artists used a grey-scale drawing to give them an idea of
shade, so I decided to use my Rosebuds on Colorized Backdrop – Saturation 6 as
a base.

Here’s what I did:
1.
Imported the image I wanted to
use.
2.
Saved it as Pink Rosebuds on
Colorized Backdrop-Saturation 6.
3.
I selected the brush icon (9th
symbol down in the left column of the Toolbox dock)
4.
I didn’t want a heavy mark, so
I chose something that looked a bit fuzzy—the first blotchy symbol in the 9th
row of the ‘Brushes’ dock.
5.
I also wanted to be able to see
the grey-scale through the painting I did, so I went to the Tool Options box
and changed the Opacity slide bar to 43.9
6.
I didn’t want the brush to be
too big, so I changed the size to 20.00.
7.
I left the other options as
they were. There will be time to discover what they do, later.
8.
I then clicked on the colour
box at the very bottom of the Toolbox, and chose a nice shade of pink (HTML:
ce83c7)
At first I couldn’t see what I was doing,
so I changed the Opacity up to 62.2. Still nothing seemed to happen. I happened
to glance over at the Layers-Gradients dock and noticed that the Background
layer was highlighted. Since I was trying to work on the Dropped Buffer layer,
this seemed wrong, so I clicked on the Dropped Buffer layer and, hey Presto, I
could now see the marks I was making.
TIP: Make sure the layer you want to paint is highlighted! (You more experienced
Gimp artists can pick yourselves up from the floor and stop laughing, now, ‘kay?)
Once I had the ability to make marks on my
drawing, I started out by tracing the darkest lines (still using the 62.2
Opacity and the fuzzy brush). This took awhile.
TIP: Make sure you stop and start, so that your line length does not get
too long. If you make a mistake, you can hit Ctrl Z, but you lose the whole
line and not just the bit you messed up. If you do shorter lines, you don’t
lose as much when you make mistakes.
TIP: It’s also important to keep in mind which part of the drawing you
need to be in the colour you are using, otherwise it’s hard to make suddenly
pink leaves, green. It’s also heartbreaking to have to undo all the bits you’ve
so carefully made the wrong colour.
After a bit, I realised that the outlining,
while helpful wasn’t really enough, so I stopped and took another look at the
picture. I’m a bit slow, so it was only then that I realized I should be
changing the shades of pink I was using to correspond with the shades of grey I
was seeing, and that this wasn’t done by colouring over the grey-scale with the
same shade. Well, duh! At this point, I’m kind of thinking how much easier this
is with coloured pencil or paint on paper, but I like the idea of not having to
start over every time I screw up and can’t erase or paint over the picture
effectively, so I decide to make the darker shades of grey a slightly darker
shade of pink (HTML: c970c0). And then I work the darker bits in c669Bc. It’s
not dark enough for the outlines and deepest shadow, so I use a bit of a25d9b, increase
the opacity to 69.5. For the outlines, I decrease the brush size to 15.00. When
it comes to the lightest part of the flower, I switch to a lighter shade of
pink (HTML: e8a8e1) and start work with a slightly bigger brush (36.43).
TIP: The brush size can be changed using the slide bar as a slide bar,
or by highlighting the numbers and typing in the brush size you want.
TIP: You should also check out if the brush size looks right for what
you want to use if for. You can do this by moving the pointer over your picture
and seeing where the brush outline sits. If it’s too large or small, you should
adjust it until you’re happy with the area it covers.
In the meantime, I’ve spent about an hour
on the pink, and I need to move onto another task for the day. Here’s what the
picture looks like so far.

I’d say it needs a lot more refinement.
Next week, we’ll move onto the green leaves and stems.
Sunday, 2 March 2014
C.M. Simpson: An Introduction
Most of you know me as the C.M. Simpson that writes - well, some of you know me as the C.M. Simpson that writes - and some of you have never heard of me at all. I have been posting my art and cover work on my writing blog, but I thought it needed a space of its own, just to make it easier to find. And for those of you who don't care about my writing, but do like seeing what I'm doing with pictures. So, this is my new blog focused on my art and photography - two fields I find myself increasingly passionate about.
I will start by reposting a number of entries from my C.M. Simpson: Writer blog, including the Australian Birds and Spiders posts and the more recent posts I've completed documenting my exploration of how to use Gimp in creating digital art. Those last are more a journal, as I discover how to improve my art, and learn how to use a new tool.
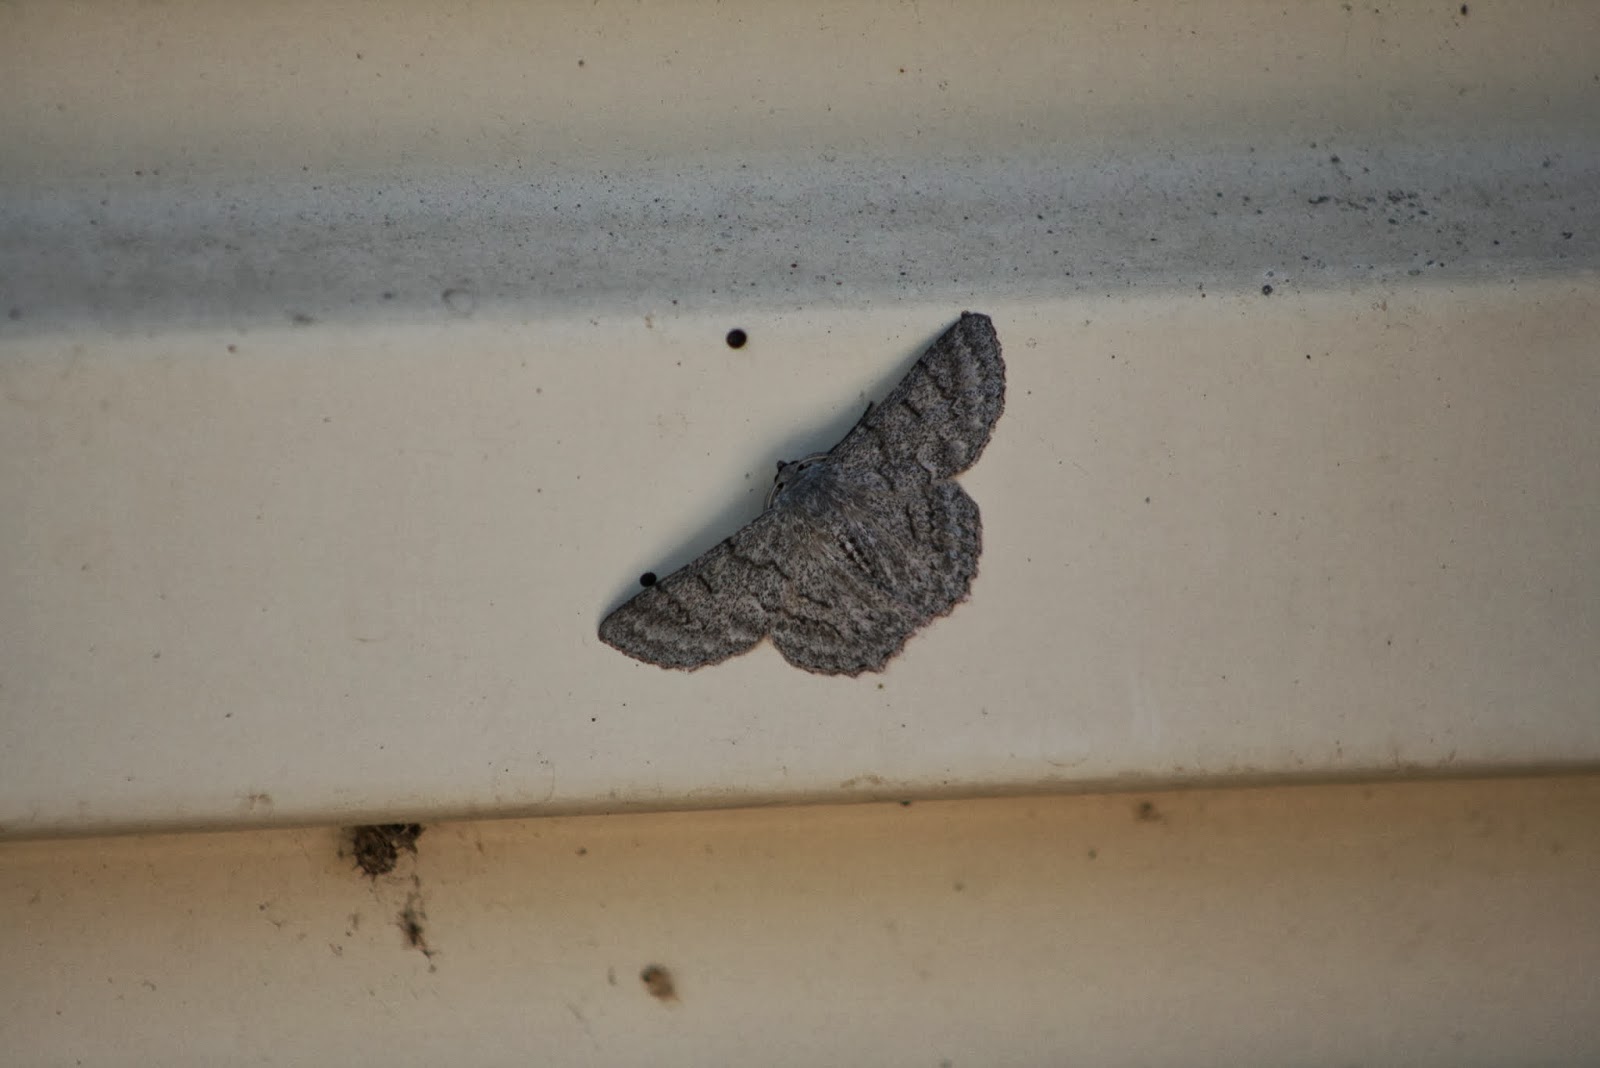
This blog will feature photographs of birds, insects, arachnids, flowers, as well as locations I find myself visiting and book covers I design. Here is a sample of what you'll find here:

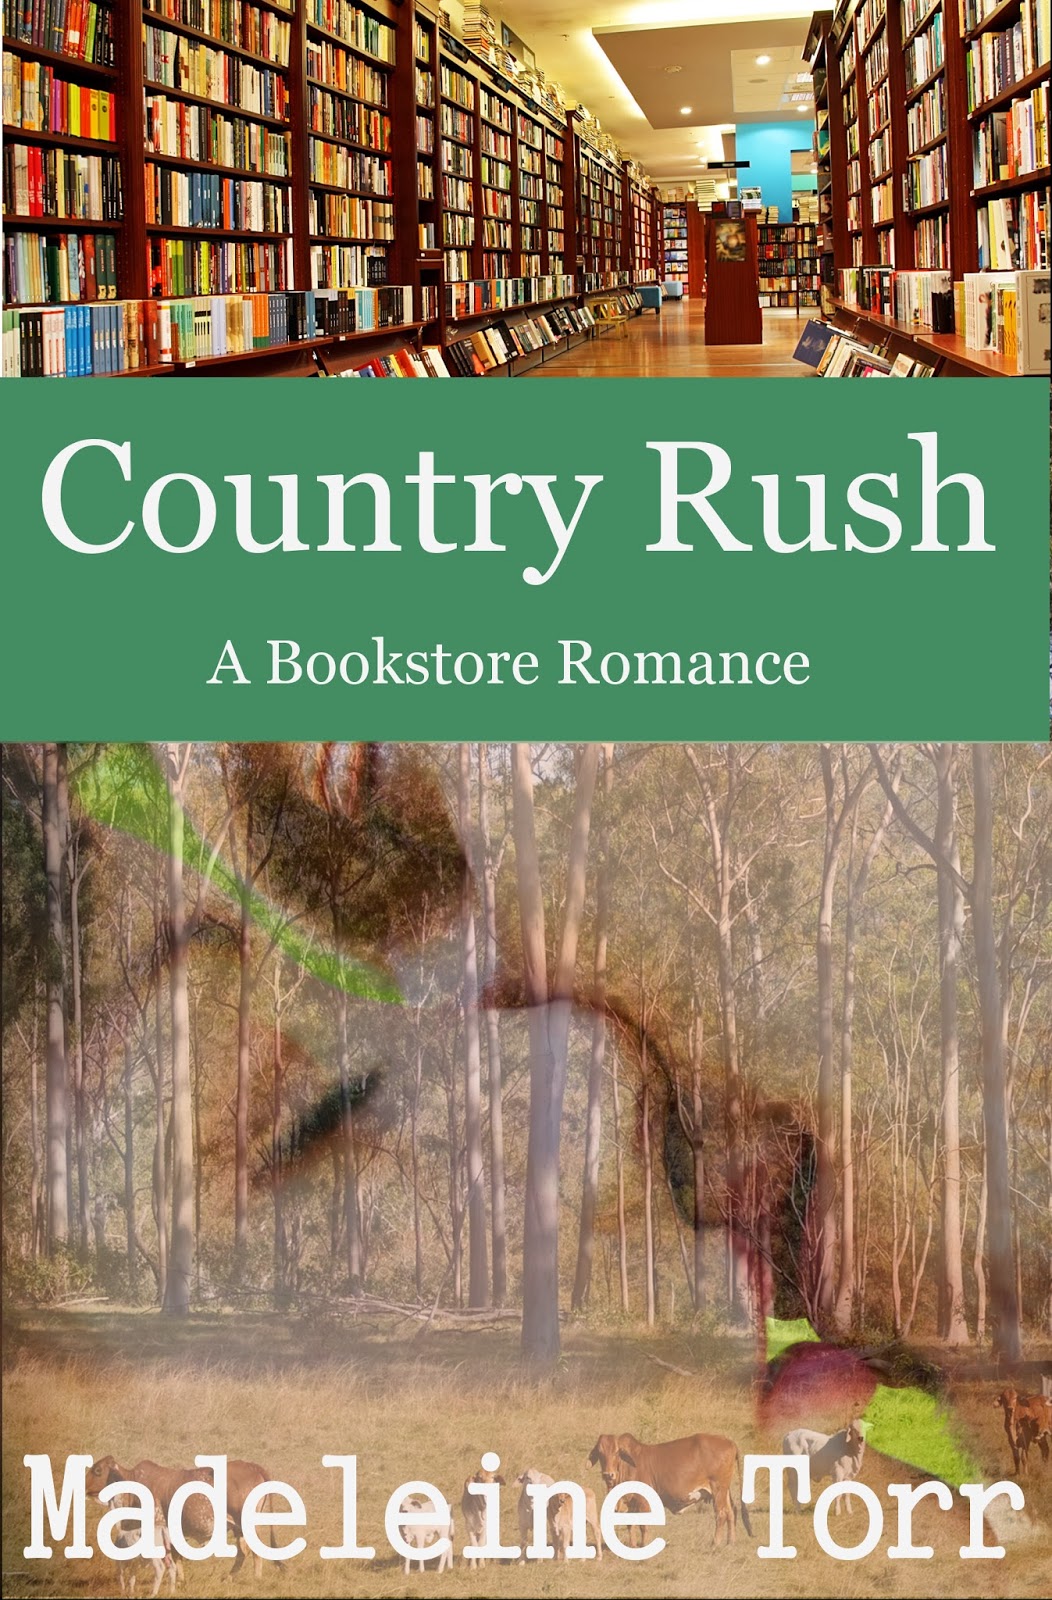

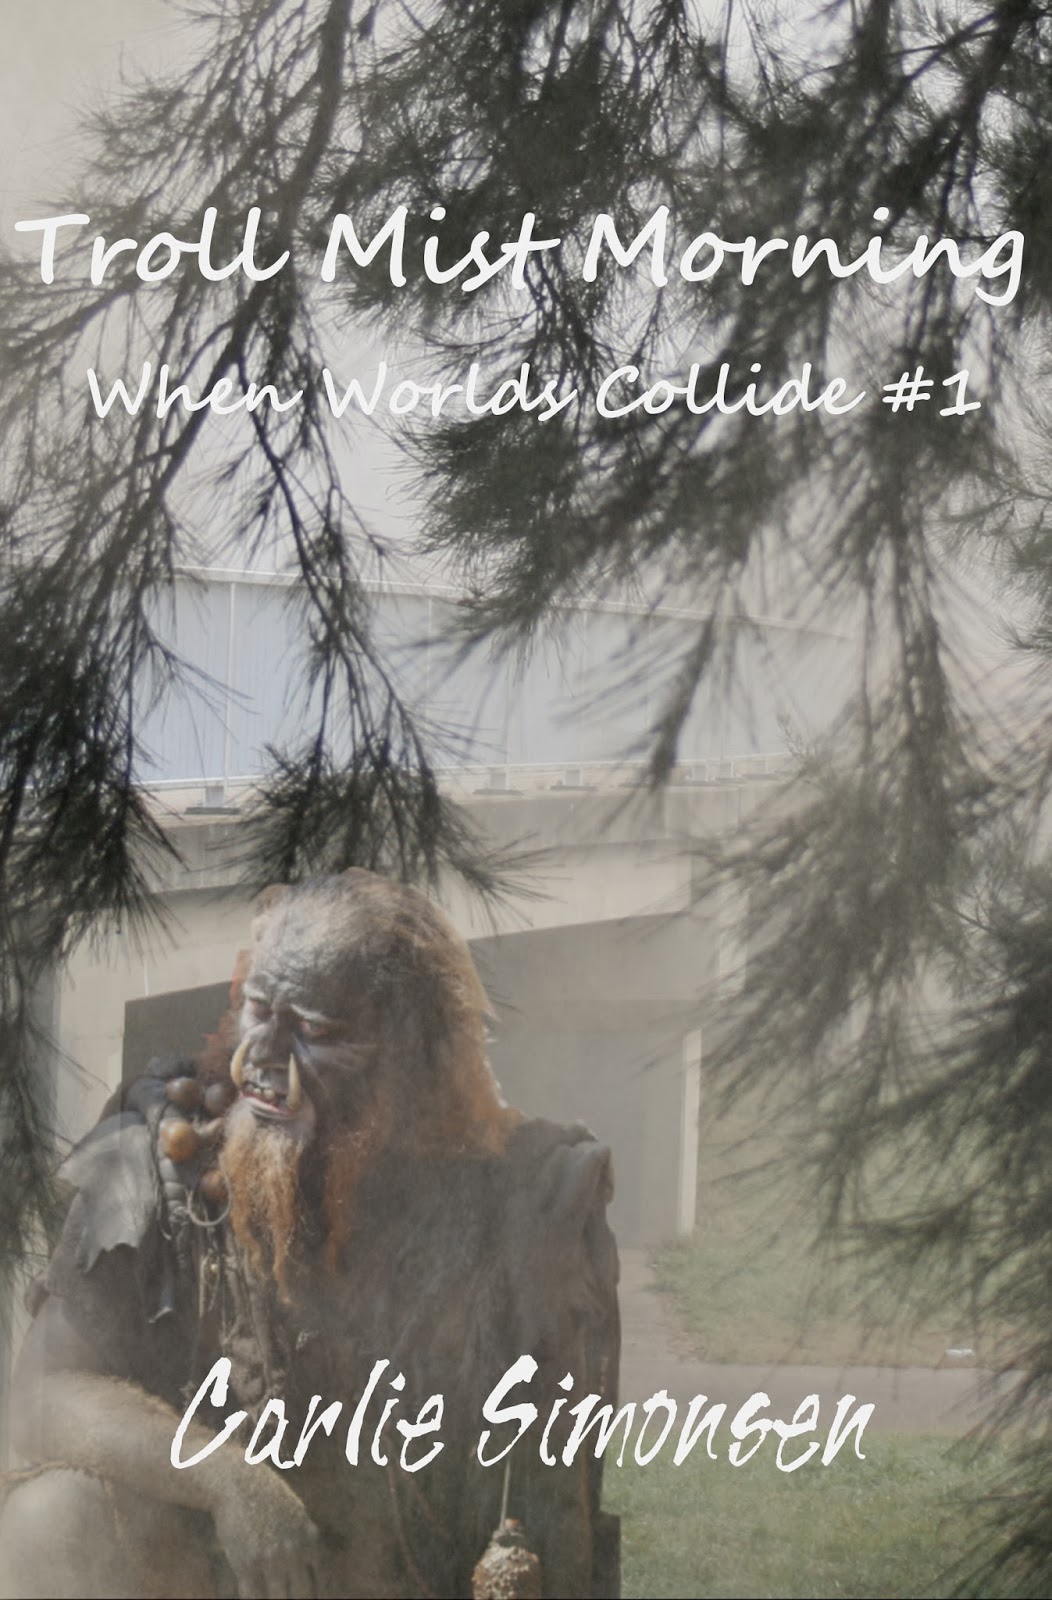



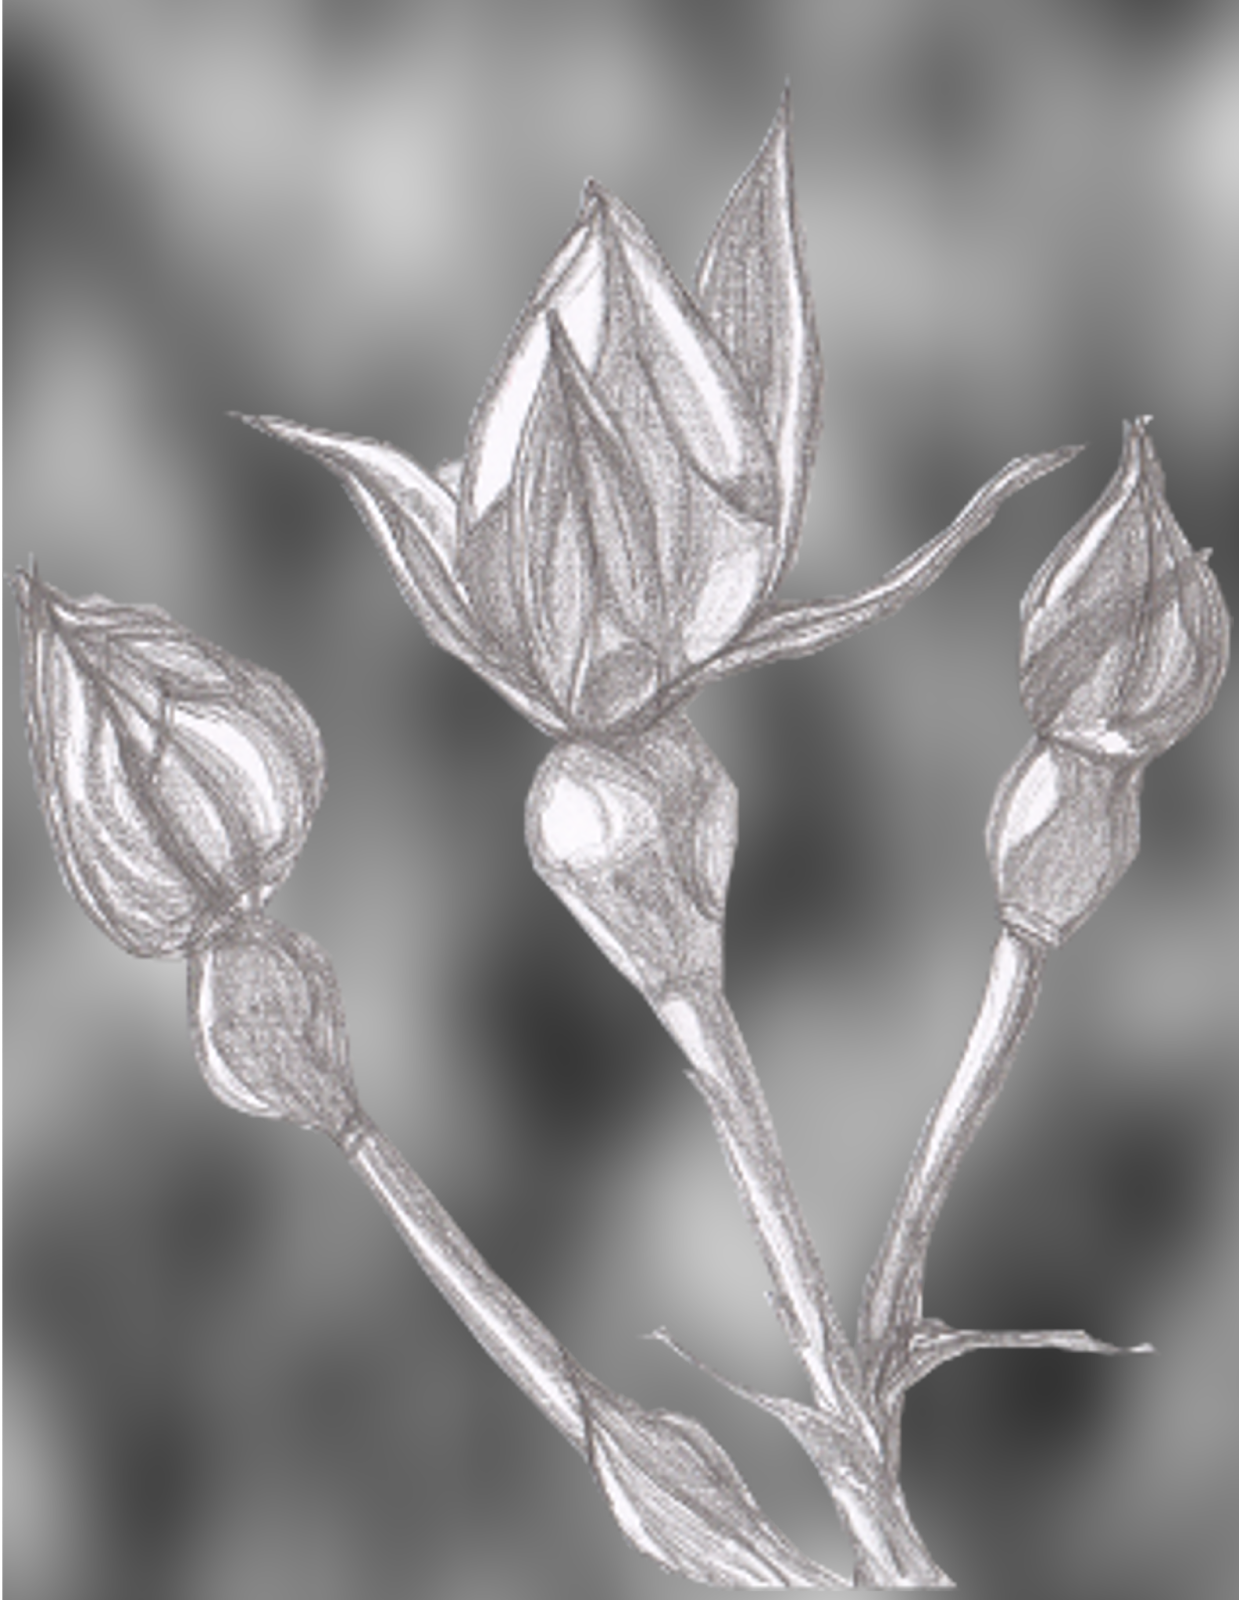
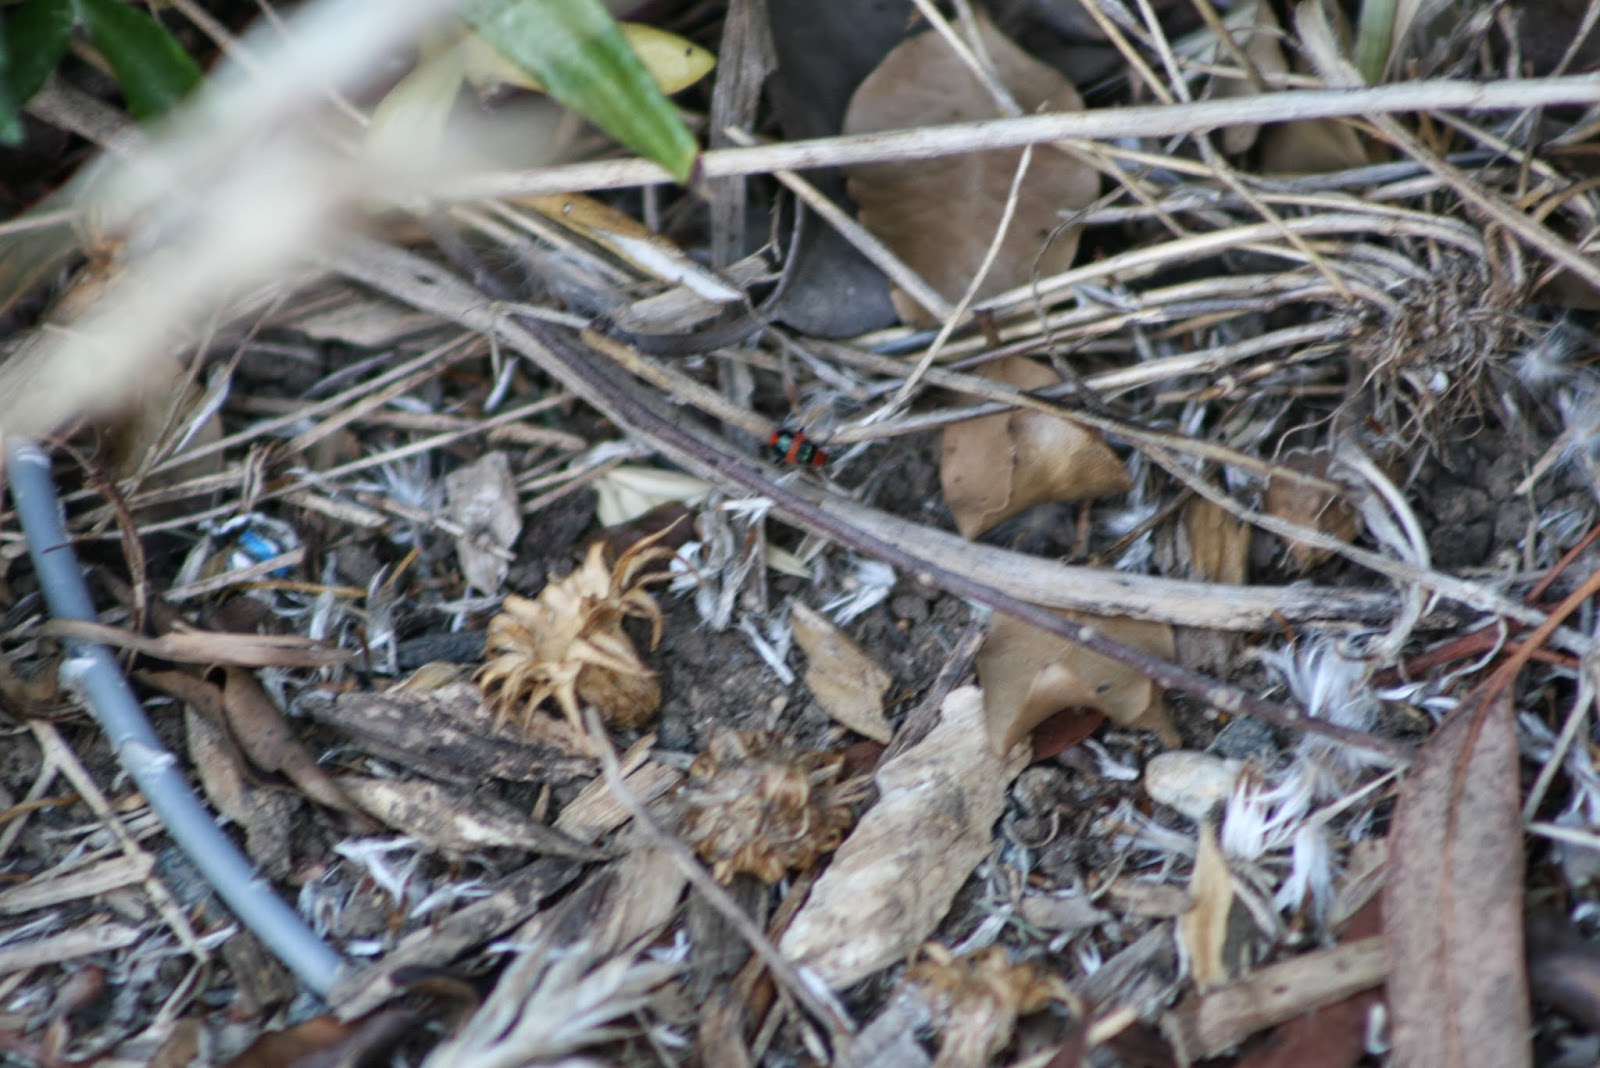
I will start by reposting a number of entries from my C.M. Simpson: Writer blog, including the Australian Birds and Spiders posts and the more recent posts I've completed documenting my exploration of how to use Gimp in creating digital art. Those last are more a journal, as I discover how to improve my art, and learn how to use a new tool.
This blog will feature photographs of birds, insects, arachnids, flowers, as well as locations I find myself visiting and book covers I design. Here is a sample of what you'll find here:

Subscribe to:
Posts (Atom)