Thursday, 29 March 2018

Latest Cover Design—Dear Tiger: Omnibus


Since the plan is to release an omnibus collecting all six stories in the series, I decided to design the omnibus cover as soon as the cover of the sixth book was finalised. All images were sourced from artists and photographers on Dreamstime.

I started out with the template I’d used to create the covers for the books in the series, and then added in the Roberto Pirola planetary background I was using to link the series together. I thought about using FengYu’s photograph of the letter I used for the first book, and added that in, as well.


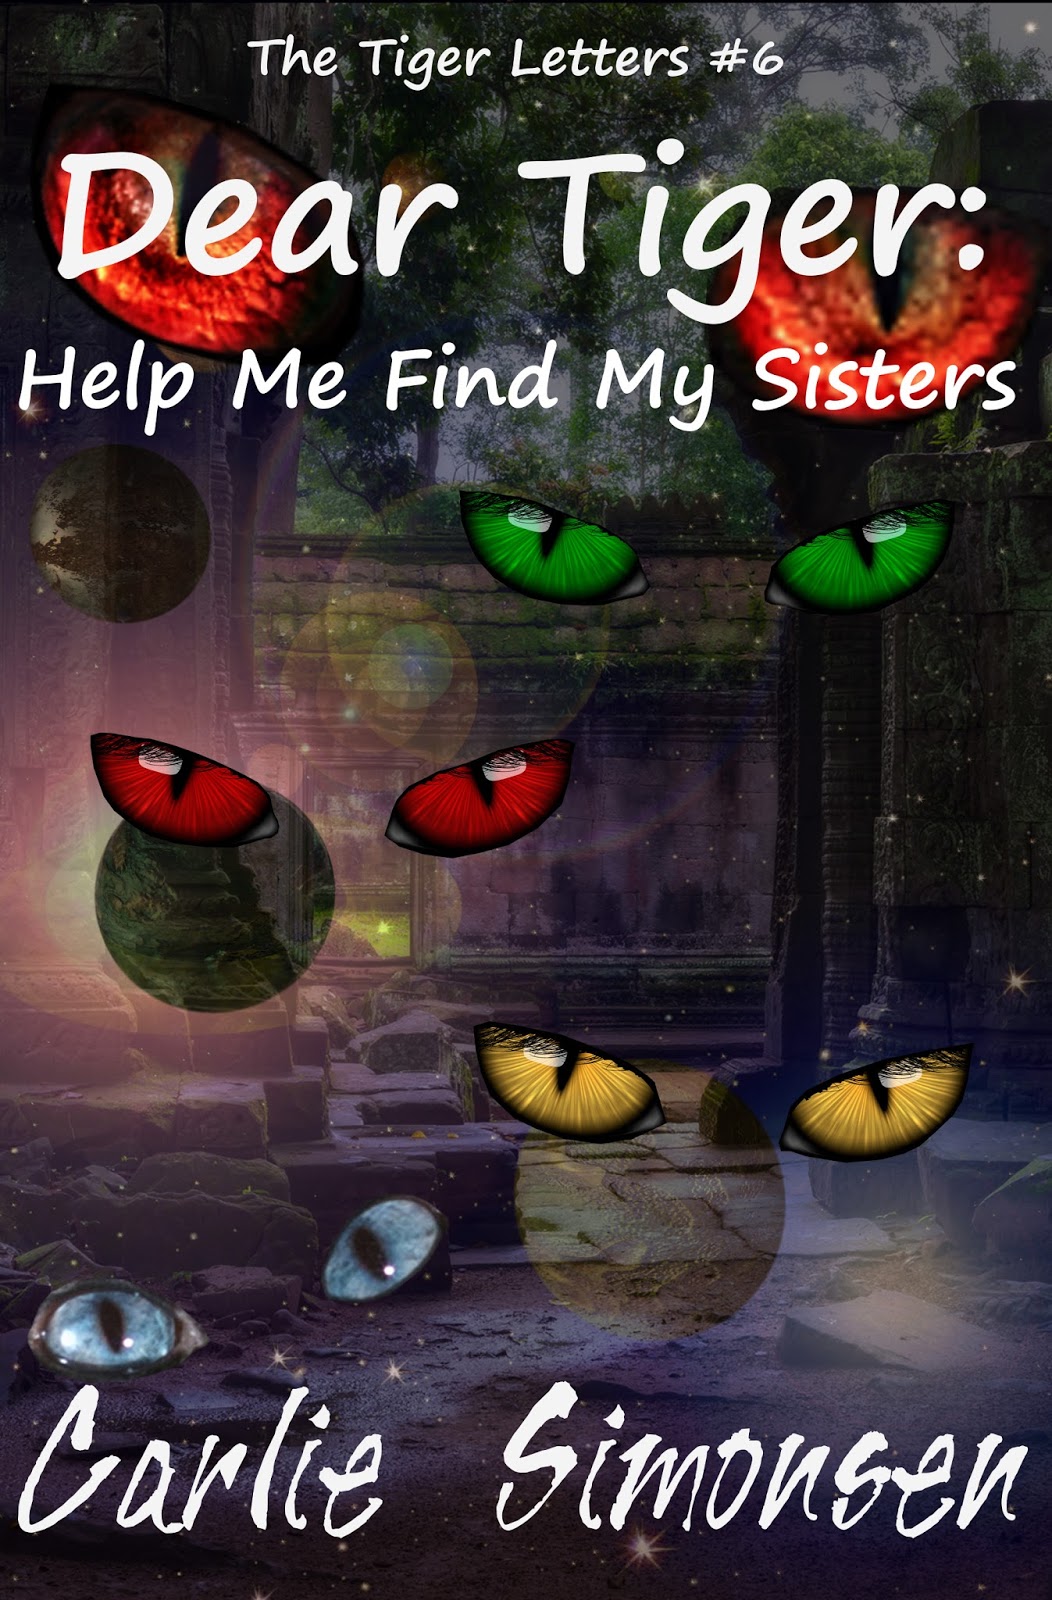
Since the monster eyes by Plus69 were a major feature of two covers, and represented the main character, I chose to include them on the omnibus cover, as well. I also wanted to include Junichi Shimazaki’s spaceship, as there is a lot of space travel in the series. And, finally, I wanted the Ruins (sourced from Vincent St Thomas), because ruins are featured throughout the series.


As you can see, that meant the cover image was too crowded, so I had to remove one of the elements. I ended up taking out Feng Yu’s pictureof stationery as letters quickly become emails in the stories. This meant I needed to re-position Junichi’s space ship, before adding in the eyes that represent the other changeling characters in the story. The eyes were given new angles by using the Rotate Tool in the Toolbox.

First each pair of eyes had to be positioned, and then the layers linked by clicking on the chain icon beside each. Once linked, the eyes, the Rotate Tool was selected, and the eyes pivoted to their new position. These icons had to be unclicked before the next pair of eyes could be positioned, as everything with a chain link that had been clicked turned when the Rotate Tool was used.
The eyes I used were sourced from Hanna Darzy's Thai Cat, Plus69's Monster Eyes, and Panaceadoll's sets of eyes.


The final cover looked like this:


Wednesday, 28 March 2018

Latest Cover Design—Dear Tiger: Help Me Find My Sisters

The final cover in a series can sometimes be the hardest, or the easiest of them all. I’m still not sure about this one.

To start with, I wanted to link the ruins in the story to cover, so I used the cover from the fifth book as my template. I then removed the Junichi’s most excellent spaceship, and set about isolating each eye in aset of eyes sourced from Panaceadoll at Dreamstime.

I also wanted to link the cover in with Book 3, I Like Your Lab, so I used the eyes I’d already isolated from the monstereyes sourced from Plus69 at Dreamstime. Lastly, I isolated the wonderful, blue eyes from the thai cat photographed by Hanna Darzy, also at Dreamstime. I imported each of these as layers and arranged them on the cover.


Finally, I realised I had to add the short story warning to the base of the cover just above the author by-line, and then I needed to use the Brightness-Contrast option under the Colors tab in order to make the white lettering more visible over the eye by reducing the brightness of each eye layer by -8, and increasing the contrast of each eye layer by +13.

This is the final cover:


Tuesday, 27 March 2018

Latest Cover Design—Dear Tiger: Let’s Go A-Hunting

Compared to Blaedergil’s Host, the cover design for this addition to the on-going Dear Tiger series was simple:

Take your template, and make sure you change the title and the number of the book in the series. Now, add your Dreamstime-sourced, base image of planets by Roberto Pirola, linking the series together.


Find a lovely picture of the Ruins of Ta Prohm by VincentSt. Thomas at Dreamstime, and resize it, using the Move tool in the Toolbox sidebar to choose what portion to show on your cover. Highlight the layer featuring the ruins in the layer’s sidebar, and reduce the opacity to 45% using the slidebar at the top.


Add in the spaceship image you sourced from Junichi Shimazakion Dreamstime, and which you have already isolated from its background. Flip the spaceship image and move it to where you want it on your cover using the Move tool, and then highlight the background layer in the Layers sidebar, select the Image tab, and select Autocrop Image from the drop down menu to trim all the layers hanging off the edges of your cover.

The final image for this cover turned out as follows: